
Opia documentation
Install, repair and upgrade Opia
Install the self-contained Opia Windows application and understand safe maintenance behavior.
Applies to Opia 26.8.1Before installation
- Use a supported 64-bit Windows workstation.
- Use an account that can approve administrator elevation for the installation.
- Have the intended first Opia Product Administrator available. This can be the current Windows user or another permitted Windows user/security group.
- Close any existing Opia application before repair or upgrade.
Interactive installation
The interactive setup guides you through the complete installation. Screenshots use Version X.X.X deliberately so the walkthrough remains valid across releases where the installer workflow is unchanged. Always use the exact version and hash supplied through your authorised delivery channel.
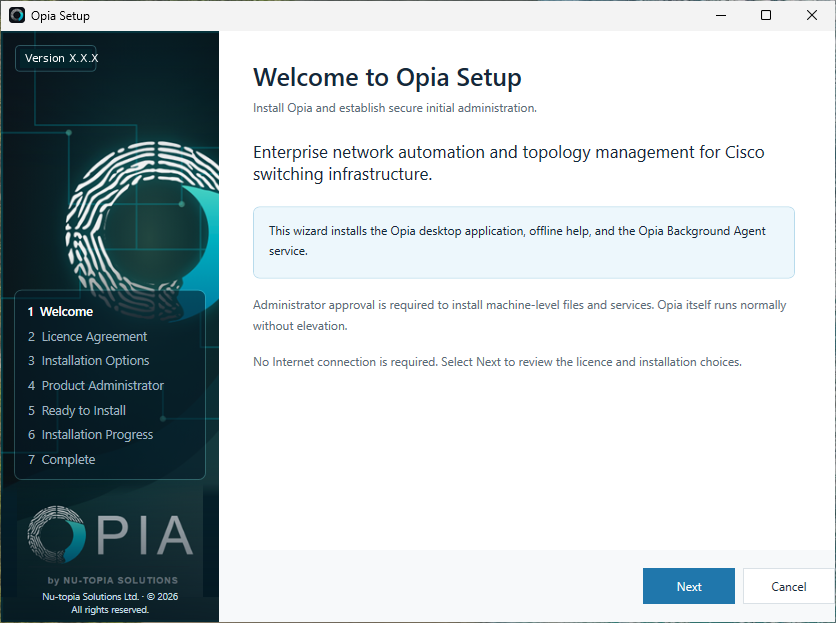
1. Welcome
Run OpiaSetup-26.8.1.exe. Confirm the product and publisher, then select Next.
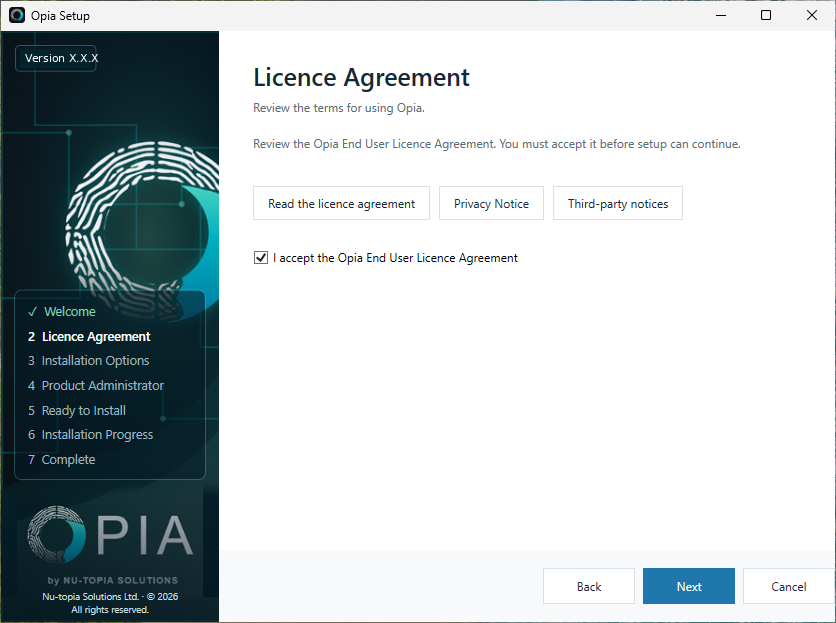
2. Review the licence agreement
Read the Opia End User Licence Agreement. The Privacy Notice and Third-party Notices are available from the same page. Accept the EULA to continue.
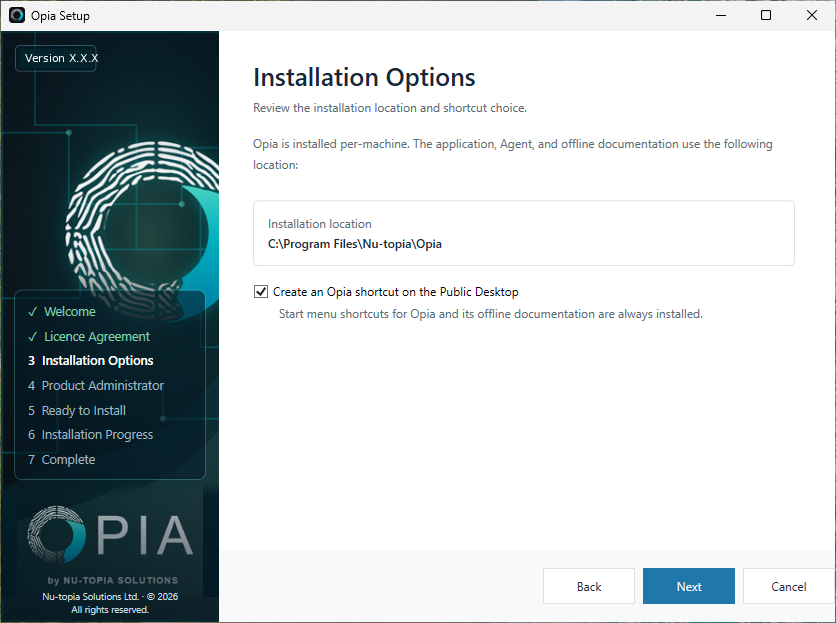
3. Choose installation options
Review the fixed per-machine installation location and choose whether to create an Opia shortcut on the Public Desktop. Start menu shortcuts and offline documentation are installed independently of this choice.
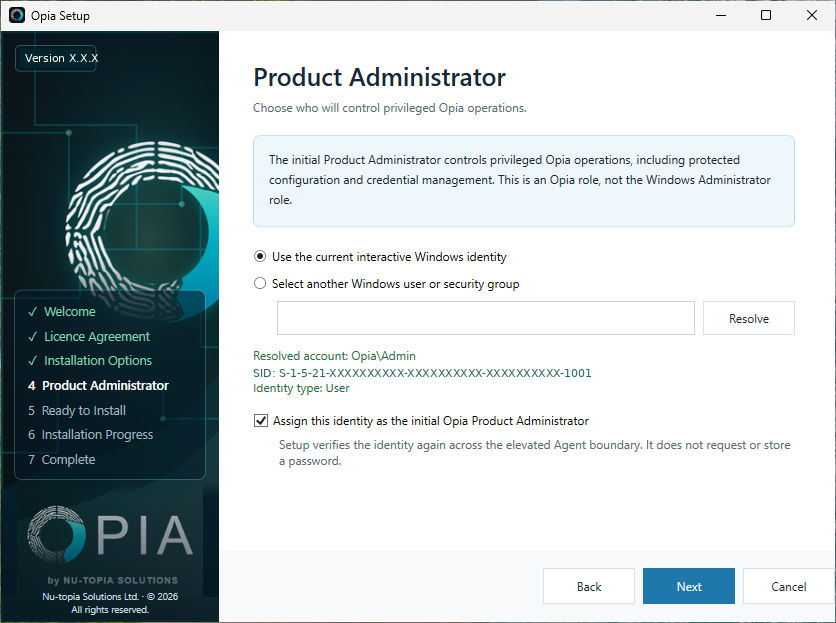
4. Select the Product Administrator
Choose the current interactive Windows identity or resolve another permitted Windows user or security group. Review the resolved account, SID and identity type, then explicitly confirm the initial Opia Product Administrator assignment. This is an Opia role, not the Windows Administrator role.
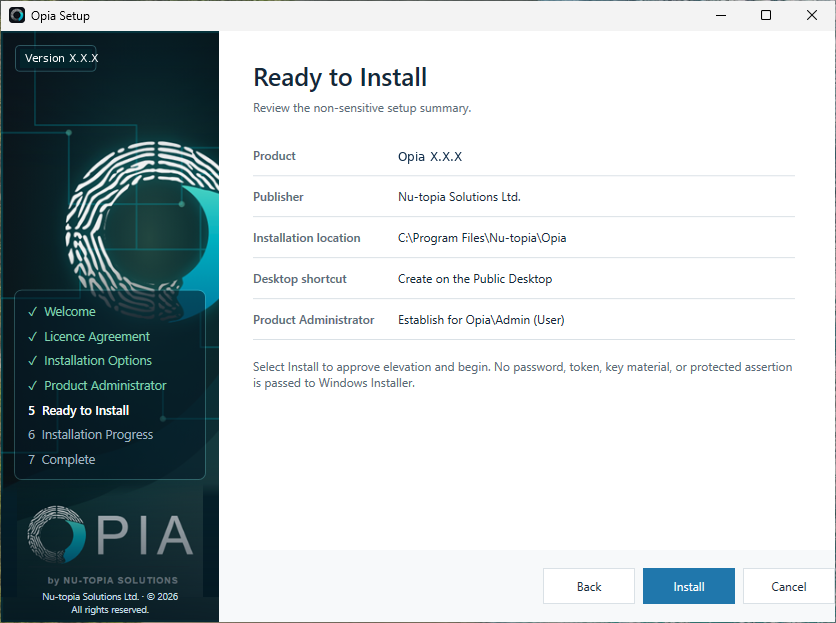
5. Review the installation summary
Check the product, publisher, installation location, desktop shortcut choice and selected Product Administrator. Select Install and approve the Windows elevation prompt when you are ready.
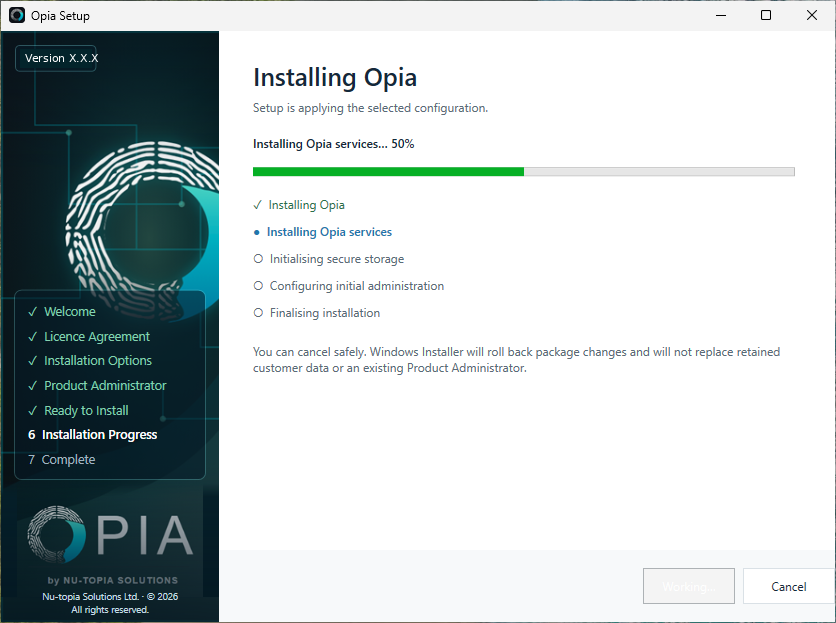
6. Allow setup to complete
Setup installs the application and Background Agent, initialises secure storage, configures the selected Product Administrator and finalises the installation. Do not interrupt setup unless you need to cancel; Windows Installer will roll back package changes if installation cannot complete.
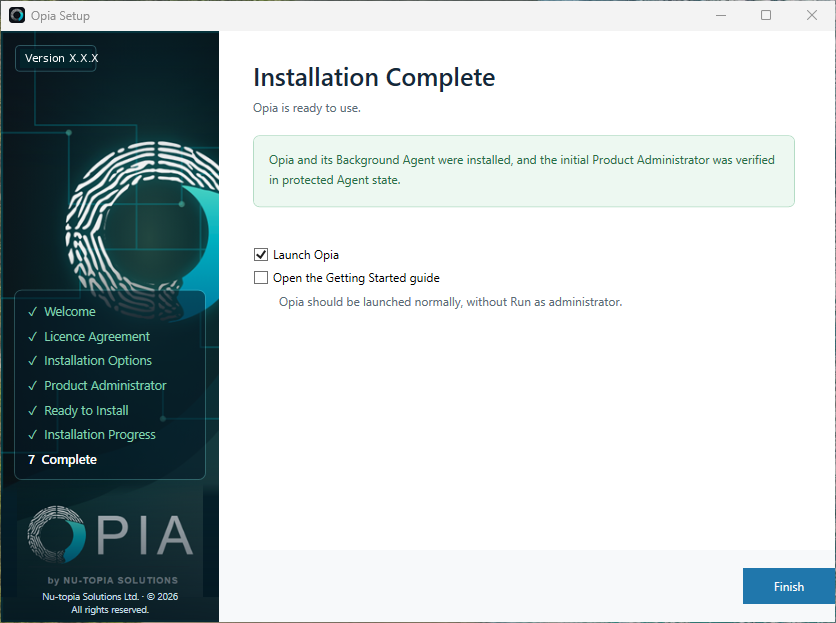
7. Finish and launch Opia
When setup reports success, the initial Product Administrator has been verified by the Opia Agent. Choose whether to launch Opia or open the Getting Started guide, then select Finish. Launch Opia normally, without Run as administrator.
First launch
A normal interactive installation has already configured the first Product Administrator. Launch Opia normally, without Run as administrator.
Repair
Use Windows Installed apps or the registered MSI repair option to restore package-owned files. Repair is designed to preserve the licence, installation identity, database, credential state, settings, logs and customer exports.
Upgrade
Run a strictly newer Opia package. Windows Installer detects the existing product, stops the Agent, replaces package-owned files and restarts the Agent. The existing Product Administrator and retained customer state are preserved. Older packages and different packages with the same version are blocked.
Before a production upgrade, back up customer data and capture support evidence. Always qualify the exact previous customer package against the new release.
Uninstall and reinstall
Uninstall removes package-owned binaries, documentation, shortcuts, registration and the Agent service. Customer and machine state is retained by default so that a later reinstall can reuse the retained installation safely.
Do not delete retained Opia data as a routine troubleshooting step. A full purge is a separate, explicitly authorised action because it can make stored credentials unrecoverable.